This isn't the routine I do everyday, but it IS the one I do either when I need to look professional (job interviews), classy and put together (large groups of adults), or just feel like I've got some time. The entire routine only takes me about 20-25 minutes, which really isn't that bad considering how many steps there are.
Keep in mind, I'm extremely pale, and I'm aware that for most people, the colors I listed are probably way too light to really show up, especially those who get tan during the summer. If that's the case, pick darker versions of the colors shown and just sub them in. I won't be insulted.
Also, I'm aware that almost 100% of the products listed are MAC. I just have hypersensitive skin on my face and most other makeup brands leave me in hives. I also can't use benzoyl peroxide on my face, which blows because it really clears up my acne right before it gives me a hideous, itchy rash. There are sites everywhere that list really great dupes so feel free to do that. (For those who don't know, a dupe is a color duplicate, usually a cheaper brand offering a product that's almost exactly the same as a more expensive one. For example, L'oreals HIP duo in Shady has a dupe for the MAC Wedge eyeshadow I use.)
Let's begin!
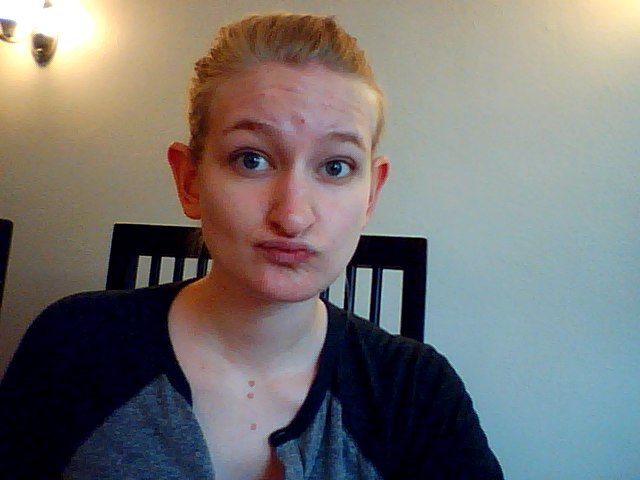 |
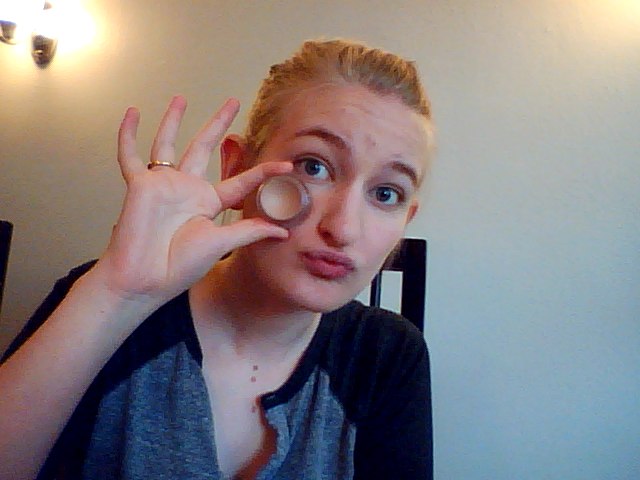
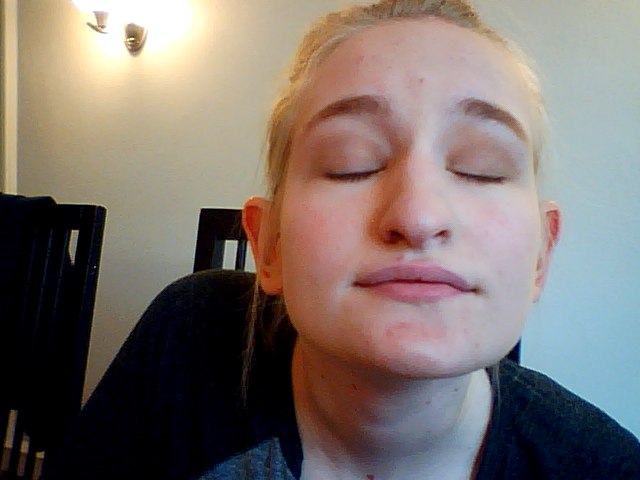
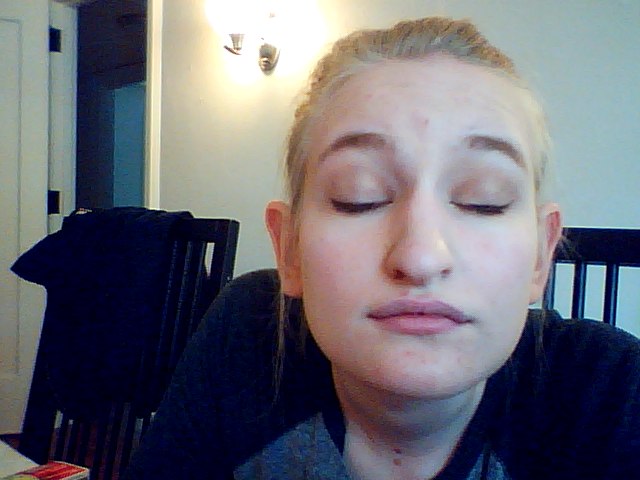
| Start by washing and moisturizing that pretty little face of yours. I did this. Now I'm just giving you a nakedface pic. |
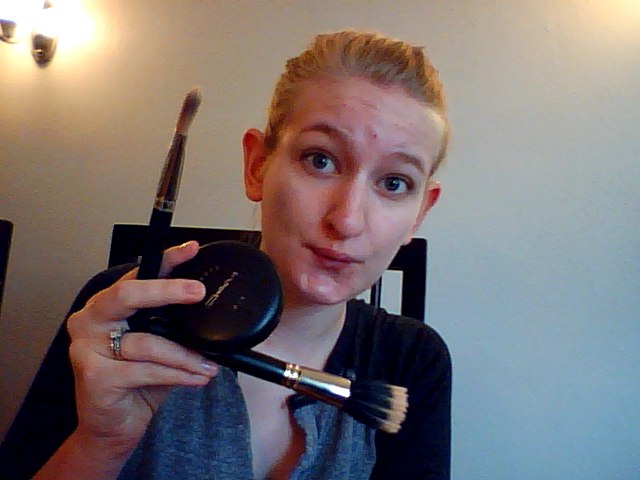 |
| Step 1: Powder. I use MAC Studio Fix in NC15, aka white. I like that I can layer it on for more coverage without it getting cakey and gross. |
 |
| Use your foundation brush (this is MAC brush 190) cover any random redness or imperfections. Normally, I'd use my Bobbi Brown concealer in Porcelain Bisque, but I ran out a couple weeks ago. The tiny pot lasted me damn near 2 years though. |
 |
| Next, use your powder brush to even everything out and make your whole face look like you're a little corpse-like. We'll add the color back later. I promise. |
 |
| Enjoy how soft the brush feels against your face |
 |
| Make sure to get your ears, hair, and jawline with the brush so that you don't have any weird lines. |
 |
| Step 2: Blush. This is MAC Whim. It's also hella old. The brush is a random Image Essentials one. It's hard to use a blush brush for much else since you don't want your whole face to be pink, so it doesn't really matter. |
 |
Use your blush brush and apply to the apples of your cheeks. It helps to smile so that you don't go too high or too low. Bring the blush back all along the tops of your cheekbones.
NOTE: This is a perfectly acceptable time to stop with your face. |
 |
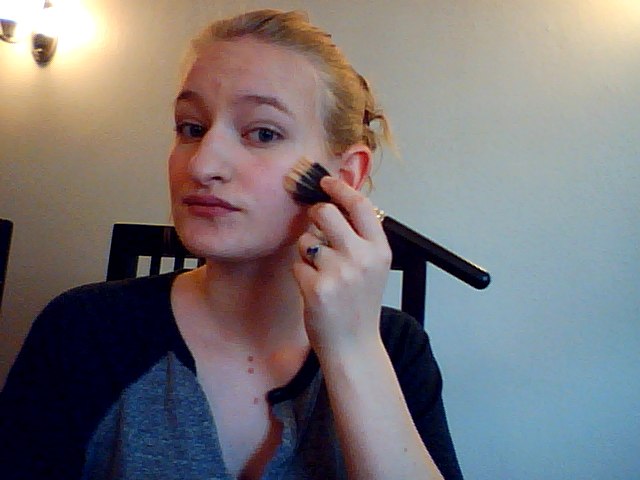
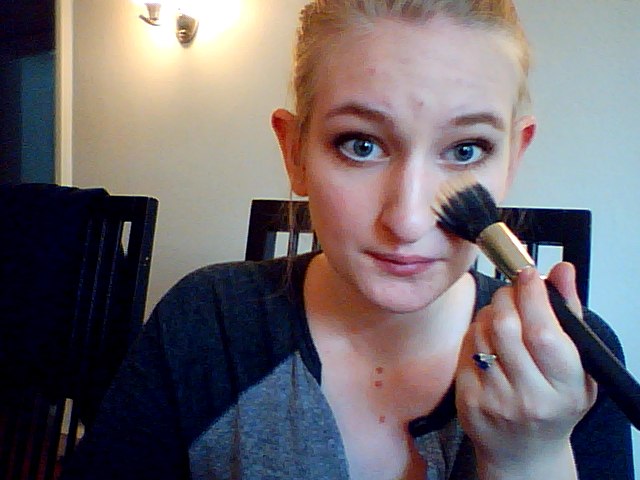
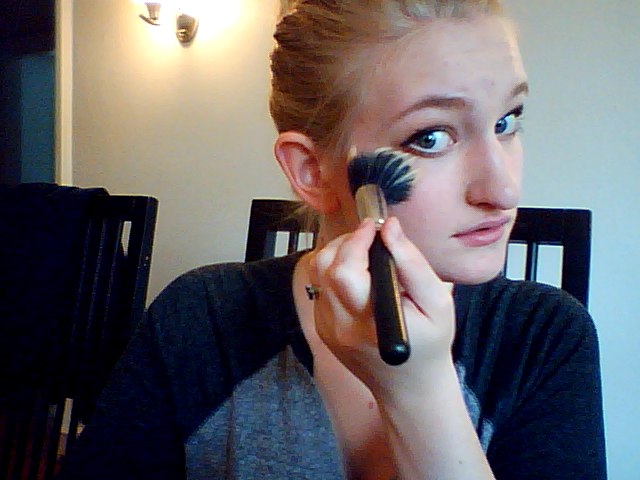
| Step 3 is bronzer. This is MAC Nude On Board from the nautical inspired line they did last May. The brush is MAC 167SH |
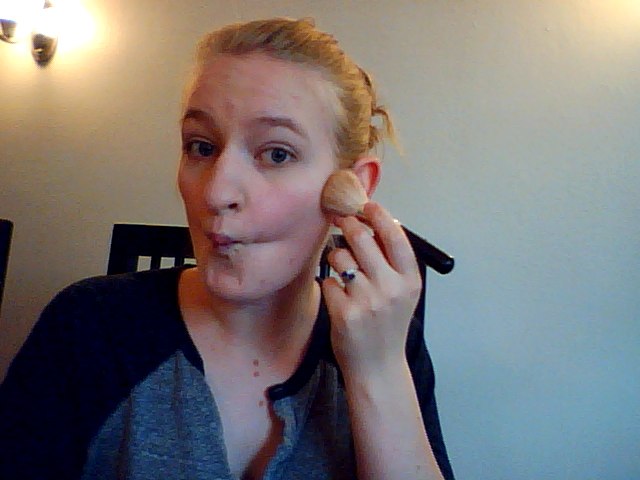 |
| Using VERY LITTLE product, apply in a circular motion under your cheekbones, making sure to get all the way back to your hairline and right under your jaw. This is great contouring and also provides you with a little bit of color. Go very light or you will end up orange. |
 |
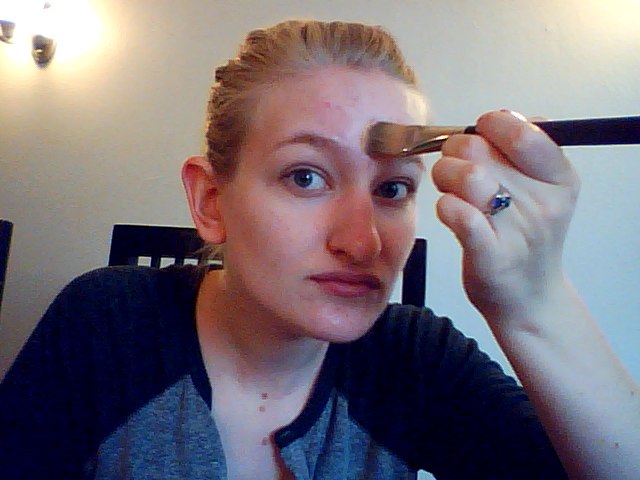
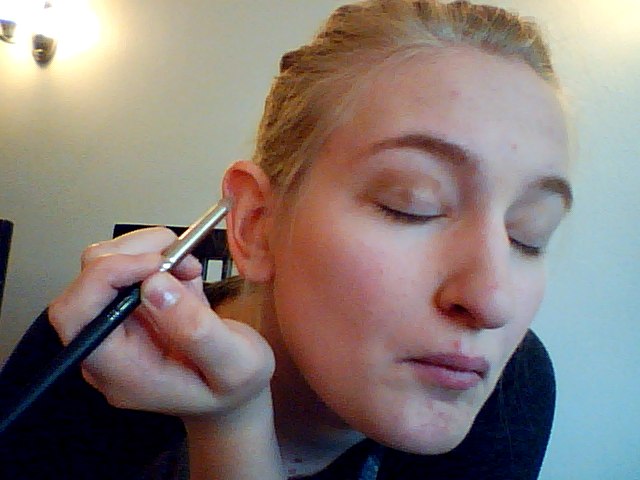
| Step 4 is eyebrows. I only do a little bit of powder in mine. Powder is MAC eyeshadow in Omega and the brush is 310SE, which I think is a lip brush, but I prefer it for my brows since it's small enough to give me easy control. It also doesn't hold much powder, which helps you to not overdo it. I'm not going to give you a guide on how to pick which color powder to use in your eyebrows, but just go to the MAC counter and ask them. It's their entire job to know this. |
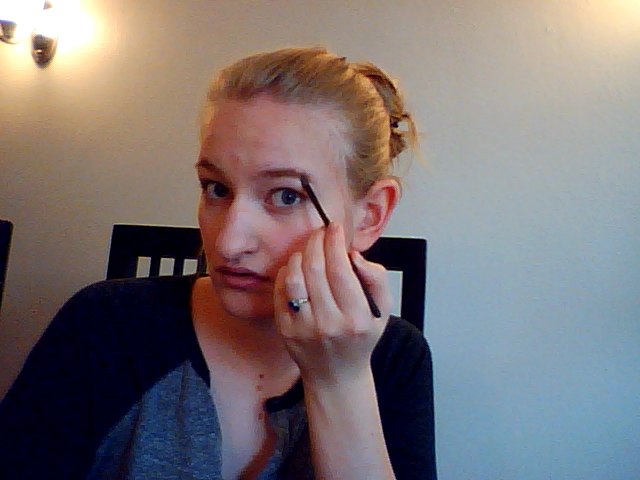 |
| Using short upward strokes, fill in your brows starting in the front and working your way back, following your natural arch. |
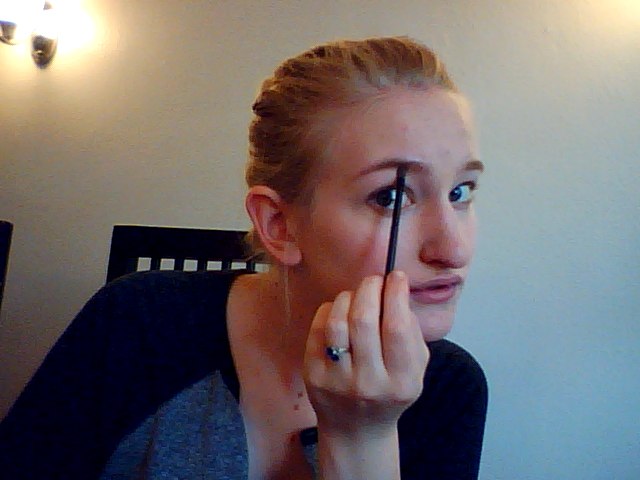 |
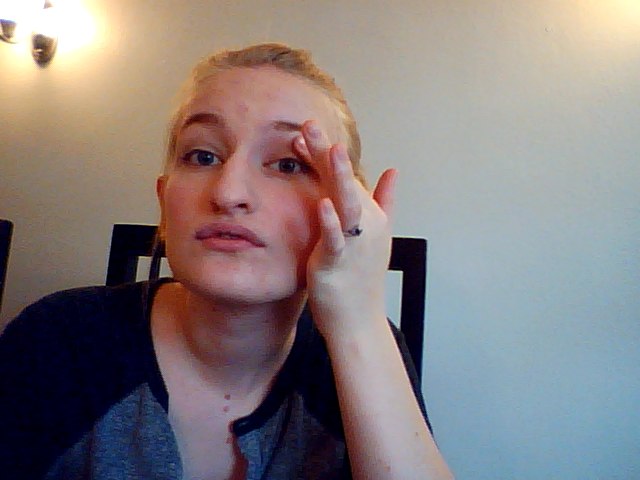
| Make sure both of your brows are even. This is really important. |
 |
| Step 5 is to prime your eyelids. Mine are oily, which sounds super gross, but will keep my eyes looking younger for longer. Anyway, if I want my eye makeup to stick around, it's very important to give it something to stick to. There are lots of eye/makeup primers, but I like this MAC Paintpot in Painterly, because it also covers the visible veins in my eyelids. |
 |
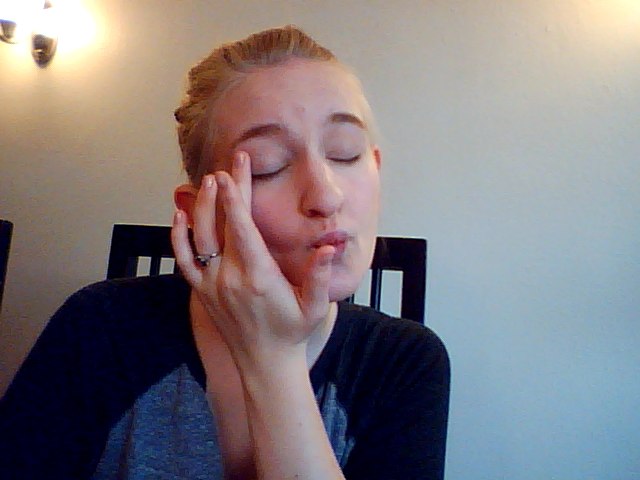
| Apply with your finger. |
 |
| So fresh and so pretty. Now let's put some stuff on it. Also, this is a simple stopping point where you can go directly to step 8 to finish off your look. |
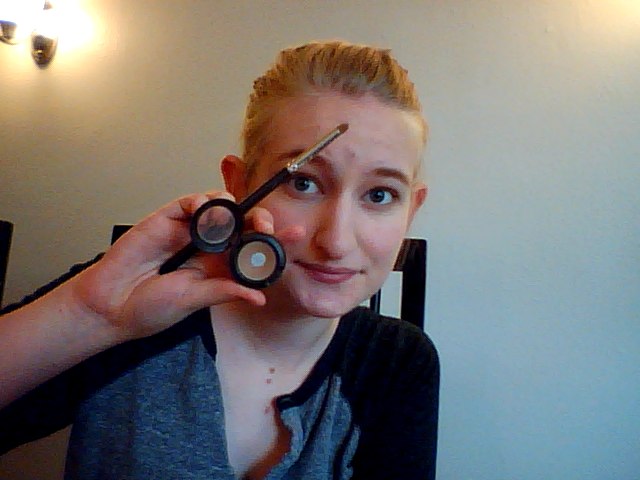 |
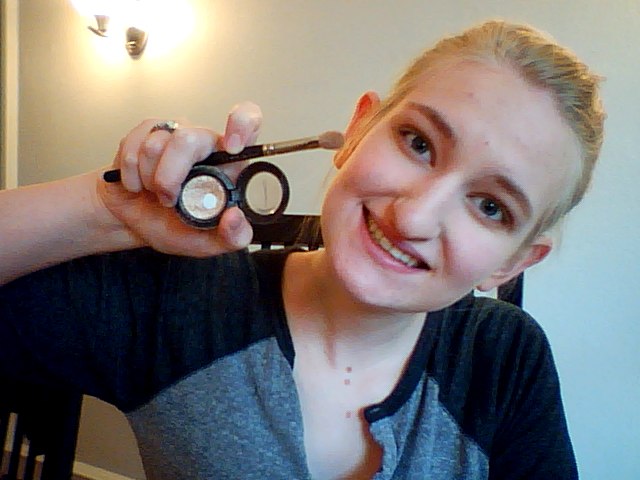
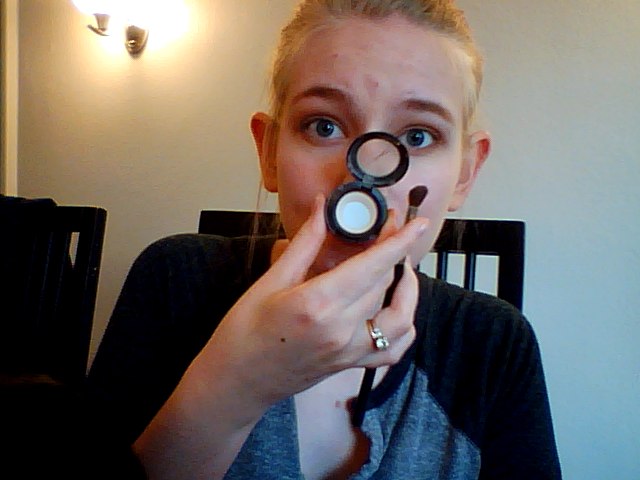
| Step 6 is eyeshadow. I like my pretty-neutral 3 shadow process. The first step is MAC eyeshadow in Wedge, and the brush is MAC 210 |
 |
| This is a terrible outline of where we'll be putting this. Do not do this and move on. |
 |
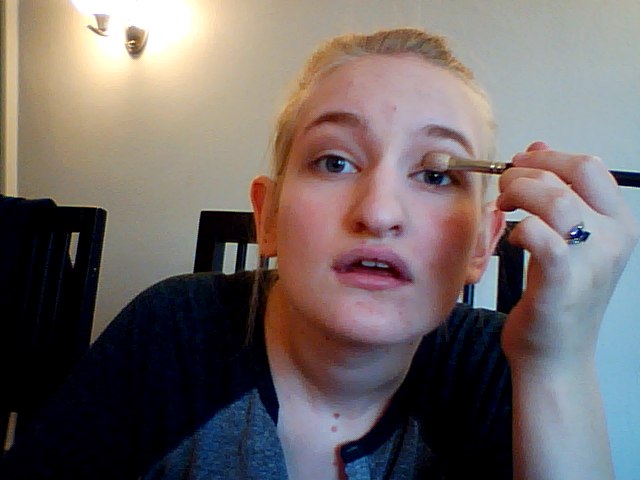
| That's more like it, but girl you need to BLEND IT. |
 |
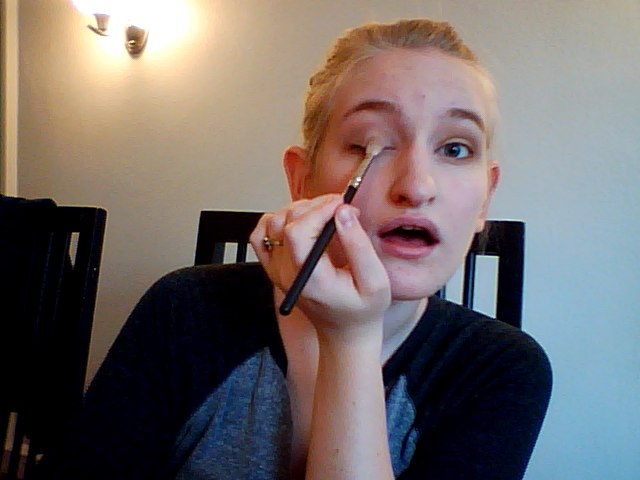
| Blend it up all around and in your crease. |
 |
| I like to blend it into my whole out corner, going a bit less than a quarter into my bottom lashline |
 |
| Do the other eye. BLEND. This is what happens when you blend, and it's very attractive. |
 |
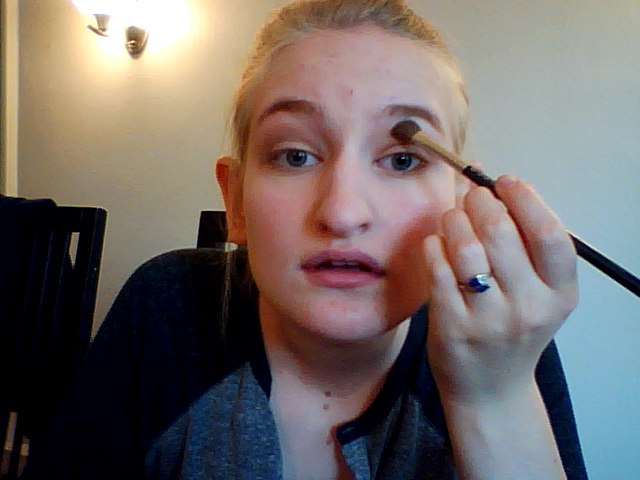
| Next up is MAC Honeylust applied with MAC brush 217 |
 |
| Apply a light coat to your lid. This shadow is a little glittery, but I like that. |
 |
| I also add this on top of the Wedge once my whole lid is covered. |
 |
| Last of the shadows is MAC Mylar applied with MAC brush 275. Sometimes when I'm lazy I skip the first two shadows and just apply this all over. |
 |
| Apply this all along your browbone |
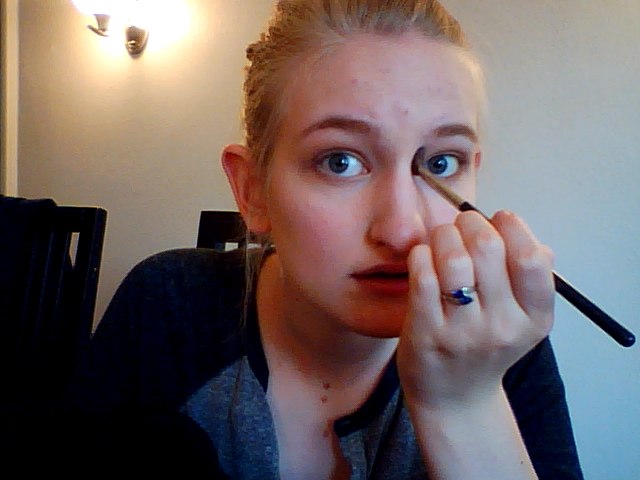 |
| Go into the inner corner with this color too, just to lighten everything up. |
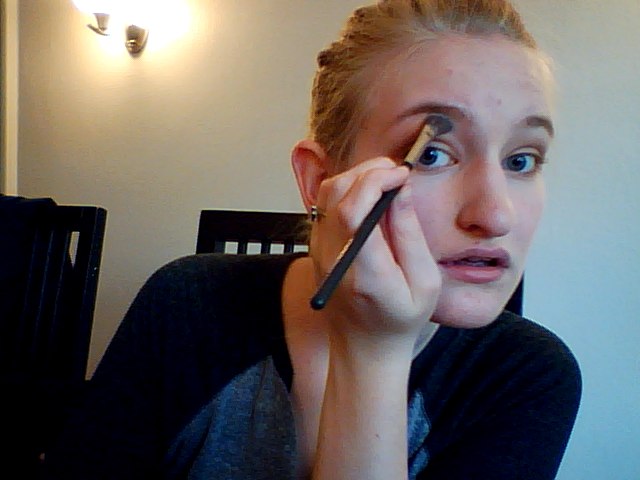 |
| Apply a bit more generously if you haven't plucked your eyebrows in a while, it'll help hide the mess. If you're not coordinated enough to put pointy things close to your eyes today, skip the eyeliner and go directly to step 8. |
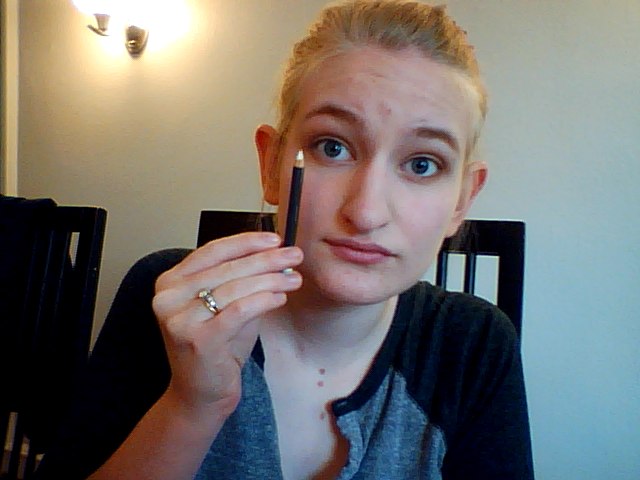 |
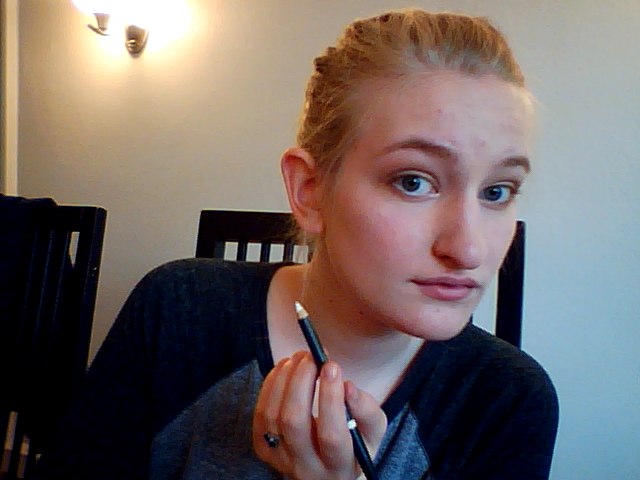
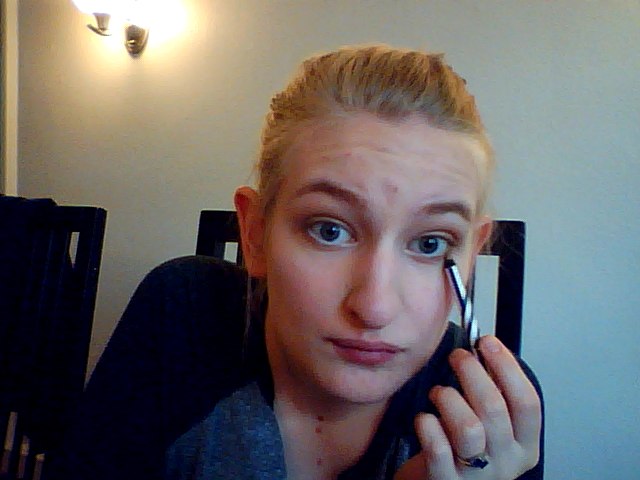
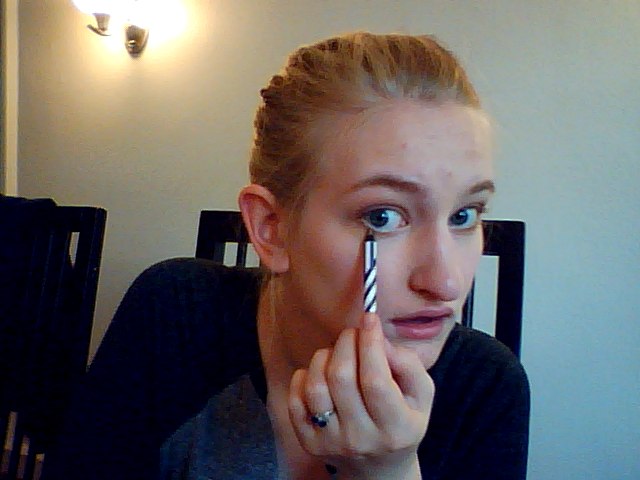
| Step 7 is eyeliner, and again, there's 3 used here (it's my lucky number). First is MAC Fascinating. |
 |
| Use this to line your whole bottom waterline on each eye. |
 |
| Go into your inner corners with this as well. |
 |
| Again, BLEND. IT'S SO IMPORTANT. |
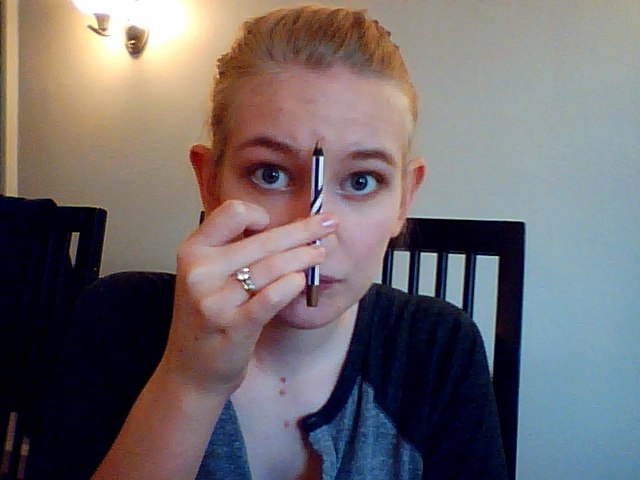 |
| Second, MAC Handforged. It's a really pretty golden color from the nautical-inspired line they did last year. |
 |
| Use this to line your bottom lashline. I don't like using dark colors for it since it basically makes your eyes look way smaller than they are. |
 |
| Make sure you get this as tight to the white in the waterline as possible. It really does look best. |
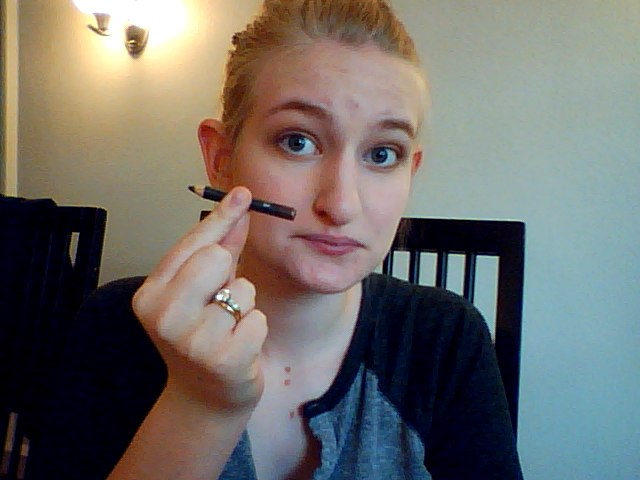 |
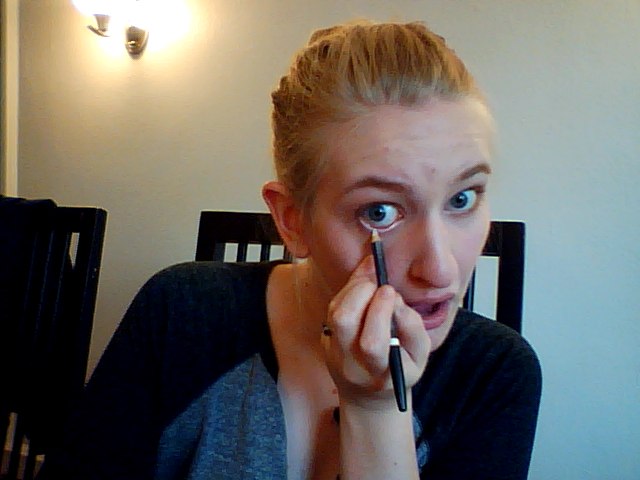
| Finally, MAC Eye Kohl in Teddy. A lovely soft, goldeny brown. |
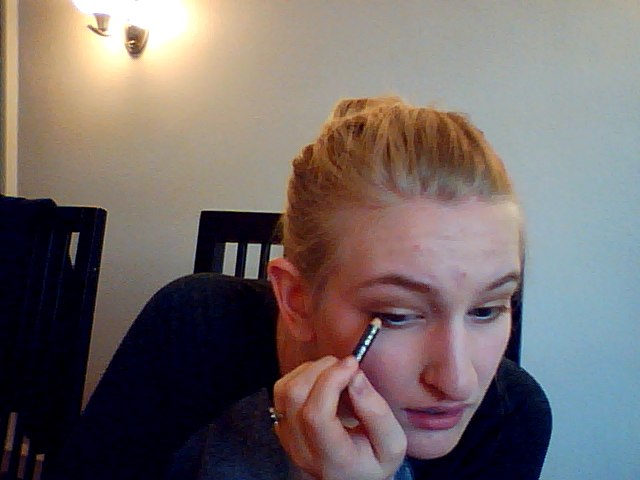 |
| Apply this in a thin, thin line on the last 3/4s of your upper lashline |
 |
| Get this in as tight as possible into your lashes. You shouldn't be able to tell where your lashes end and your liner begins. Bring the line all the way to the outer corner, and flare out the tiniest bit. |
 |
| It should look kinda like this |
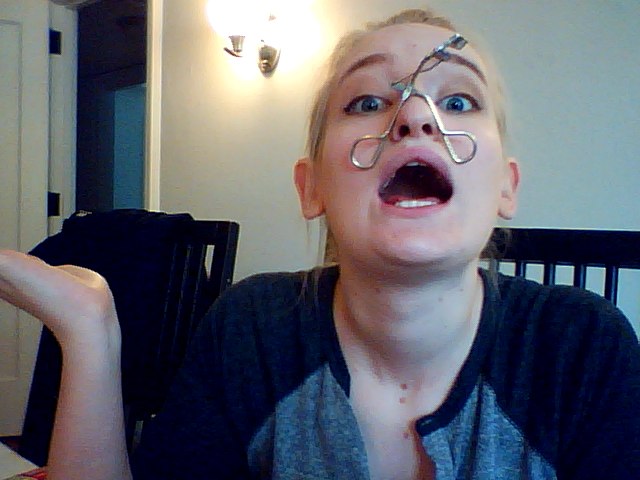 |
| Step 8 is a lashes 2-parter. Part one is to curl them. I like my Tweezerman model. Do not ever skip this step, even on a lazy day, because it really makes your lashes look so much better. |
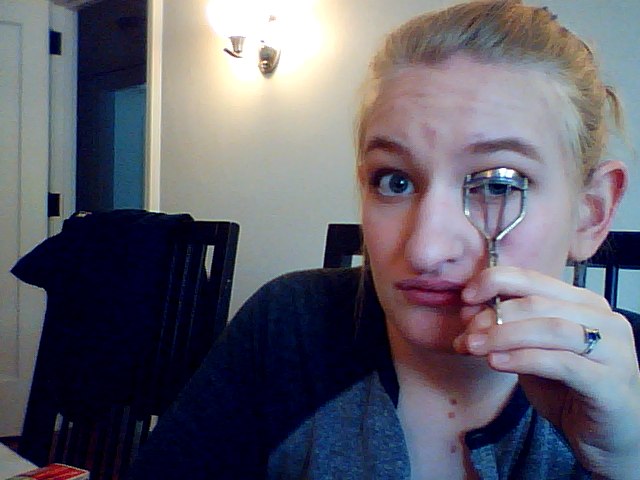 |
| You want to be as close to the bottom as physically possible without pinching your skin |
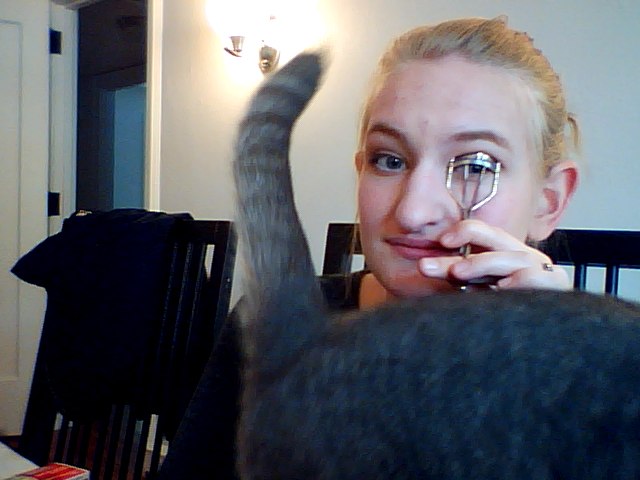 |
| Gently press down for about ten seconds, or just enough time for your cat to pass you. Do this to both eyes (duh). |
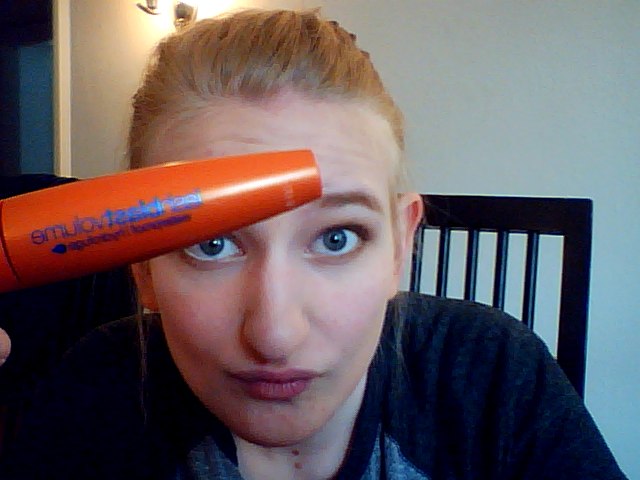 |
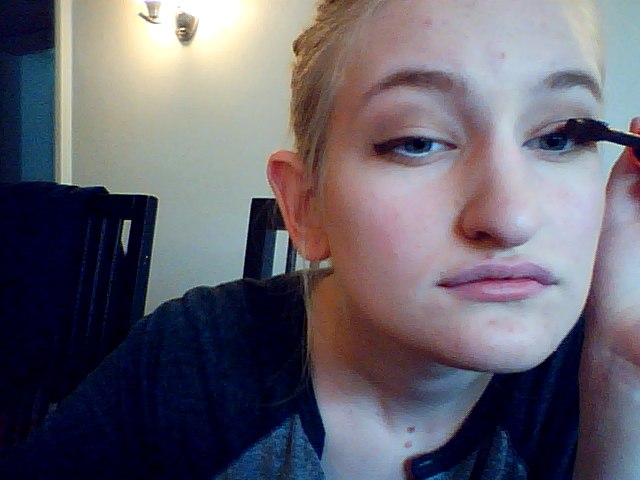
| Part two is mascara. I use CoverGirl Lashblast Volume Waterproof in Black Brown. Black mascara just doesn't look natural on me and is a touch too much drama for daytime. Also, waterproof because humidity is stupid. |
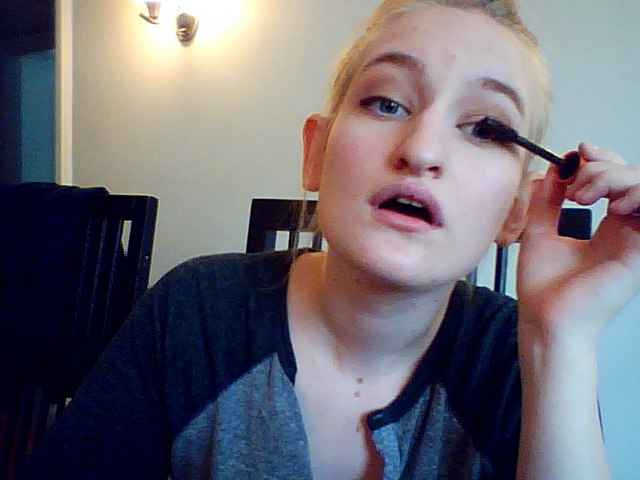 |
| Starting at the very very base of your lashes, slowly wiggle your brush upwards. |
 |
| Keep wiggling until you hit the very last tiptop of your lashes. |
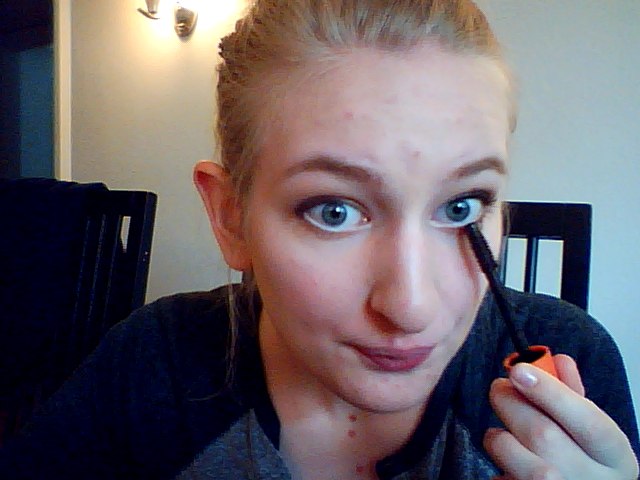 |
| For the bottom lashes, hold your brush vertically and lightly dab the color on. You don't want to make them long and full, you just want the color to match your top ones. |
 |
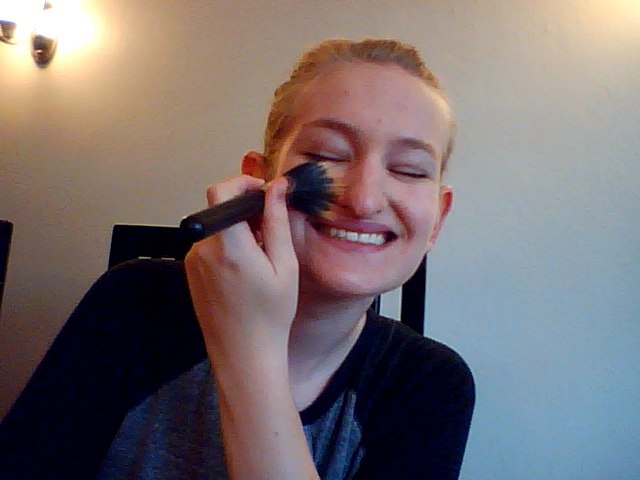
| Without adding more powder, clean up underneath your eyes with your powder brush. |
 |
| I like to go all the way back to my hairline to make sure the edges of the eyeshadow are even on both sides. |
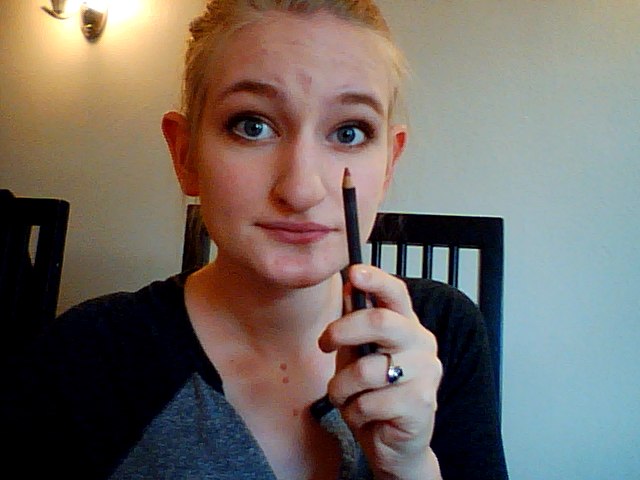 |
| Finally, lips. Start out with a lipliner (it really does help keep everything in place), or not and just skip this. It's your life. I like this MAC one in Spice because it matches the pinky-neutral lip colors that I always wear. Since I can't pull off a red lip, this is the only lip pencil I own. |
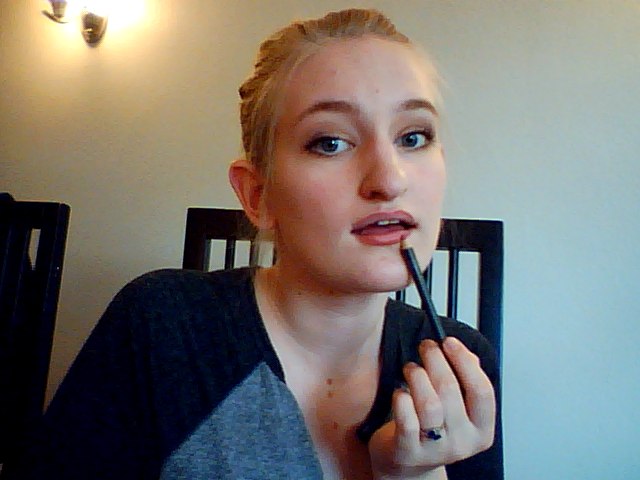 |
| Staying within the lines of your lips, draw a thick, but light, line. |
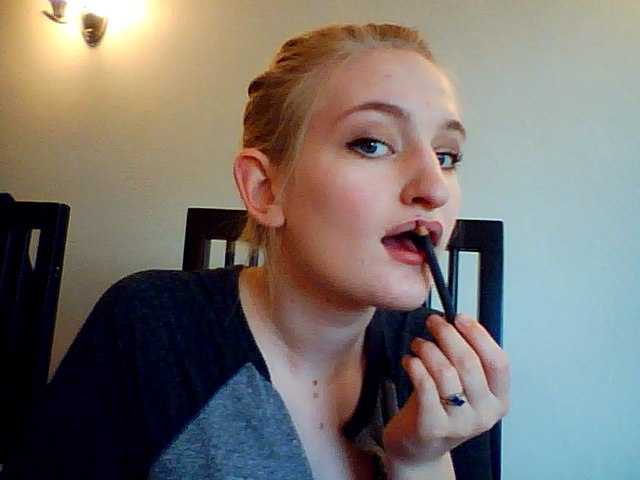 |
| We're not going to put on a red nose and be a clown, so if you want more of a cupids bow, apply the line a touch heavier there to exaggerate it. |
 |
| Blend blend blend blend blend until your whole lips are lightly colored in. |
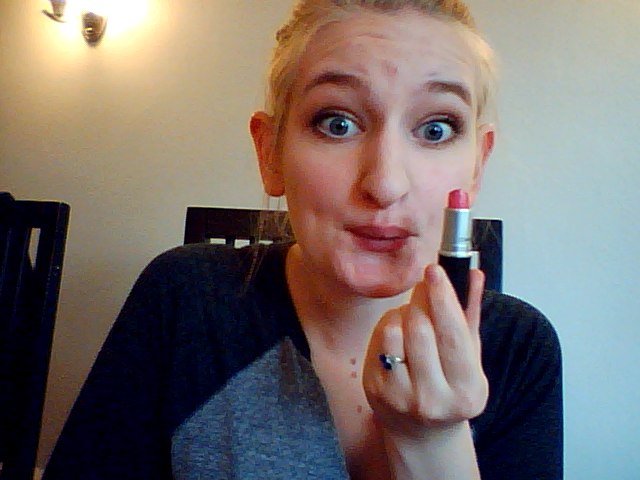 |
| Last, I use lipstick. This is my favorite MAC cremesheen lipstick in Speed Dial. |
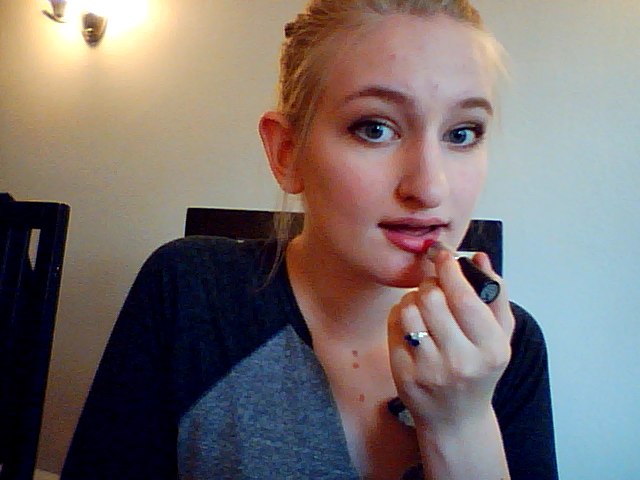 |
| I tend to just lightly dab the color on, not make big swipes. Big swipes always make my mouth look a mess. |
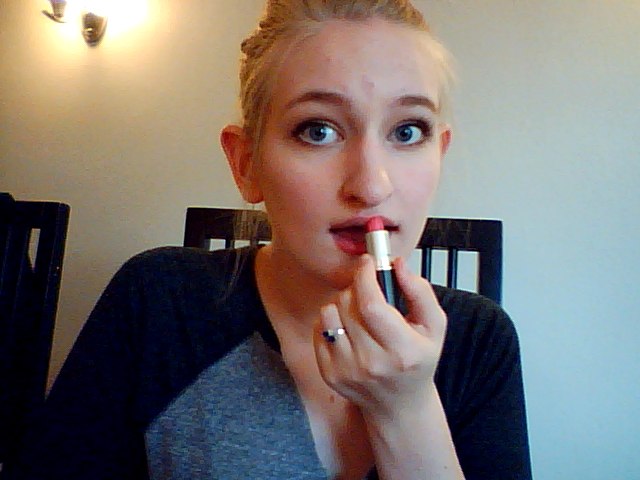 |
| Gently dabbing. |
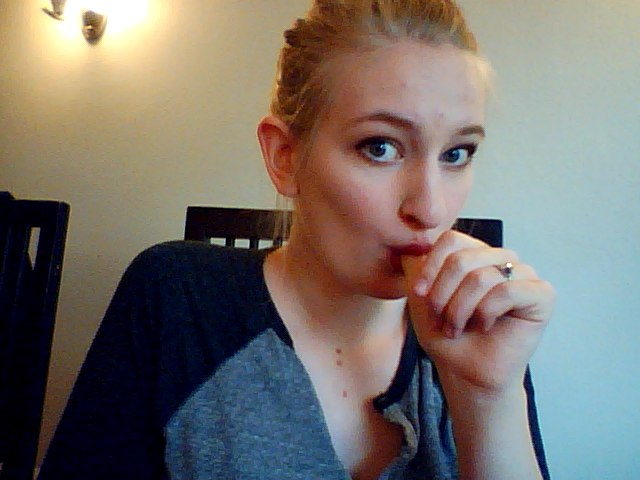 |
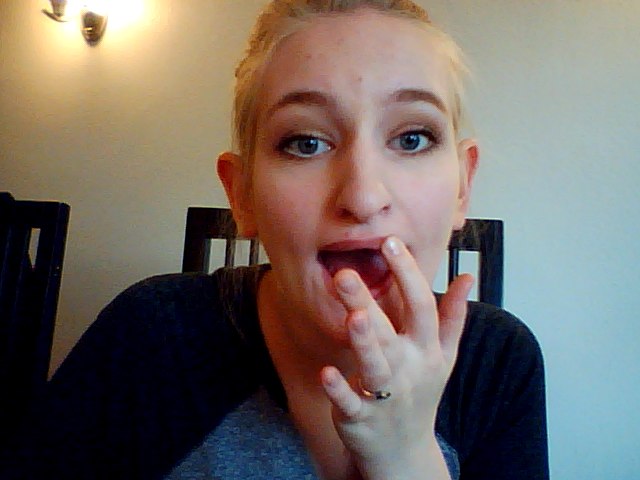
| So that lipstick doesn't get on your teeth, wrap your lips around your thumb and pull it out. It gets all the color that's travelled beyond the visible boundary. |
 |
| Clean up all the edges after you've mushed your lips around. |
 |
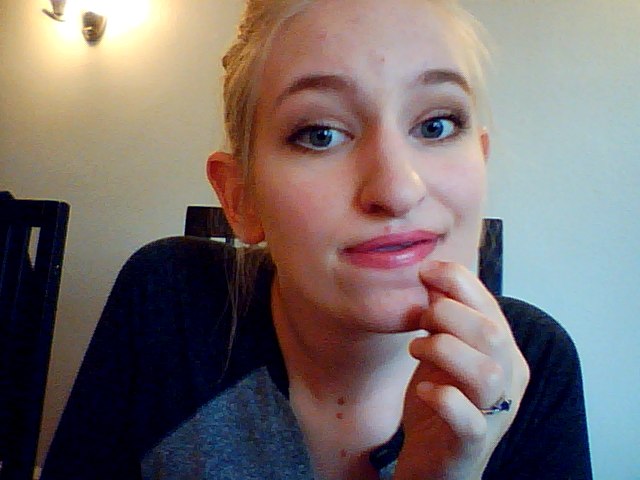
| Blot! |
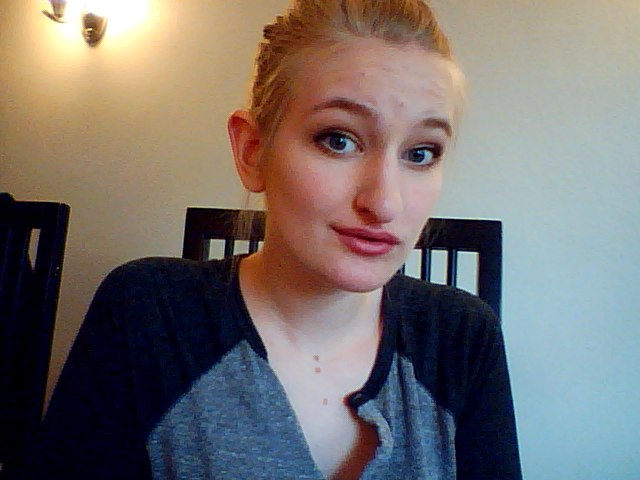 |
| Since I'm always too lazy to put on another layer of lipstick and dab again, I'm done! |
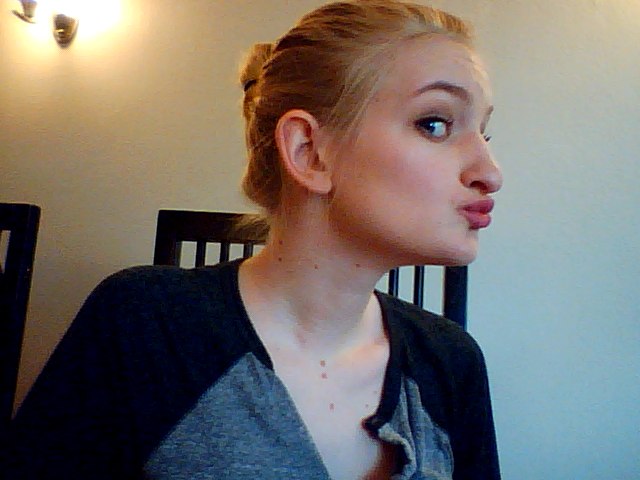 |
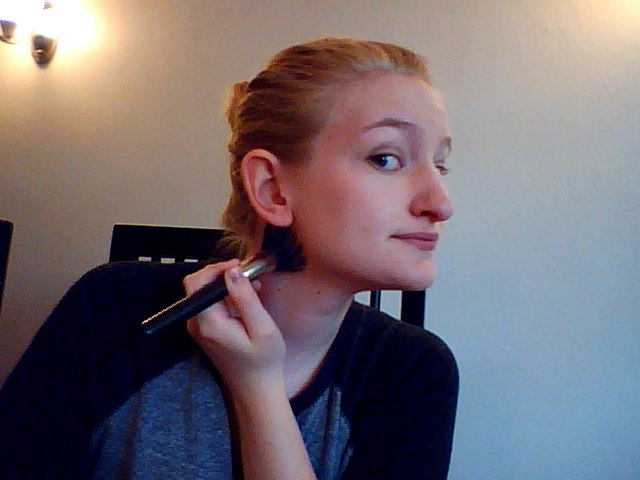
| Finished side look |
Keep in mind, I'm not calling this a "no make-up" look. You will look like you applied make up. But isn't that kind of the point sometimes? Like "hey, I actually gave a crap today!"
Should I include more of these? Maybe a smoky eye? Something more festive? Let me know!

No comments:
Post a Comment